Kickstarting Chirpy with a Fork
This post is about kickstarting a new blogging website using Chirpy (an awesome Jekyll theme), but doing it the complicated way – forking the repository for the enhanced ability to modify features or UI. It’s not recommended unless you’re familiar with Jekyll (it presents plenty of challenges during upgrades), but if you’re a fan of customizations and keen to learn new things – I believe it is definitely worth the journey.
If you prefer to take it easy albeit with much less customizability, you can always opt for the Starter theme – skip this post completely and read more on Chirpy’s documentation. If you wish to have full access to all the bits and bytes, continue reading here! The steps below may seem a little different compared to the official documentation, but here’s how it worked for me.
Forking the Theme
As already described in Chirpy’s documentation:
- Sign in to GitHub.
- Fork the theme repository.
- Name the new repository
<username>.github.io, replacingusernamewith your lowercase GitHub username.
GitHub Actions
- Open your newly forked repository, which should be in:
https://github.com/<username>/<username>.github.io - Navigate to the Settings tab.
- Click on Pages in the left-hand menu.
- Under
Build and Deploymentsection, change theSourceto GitHub Actions.
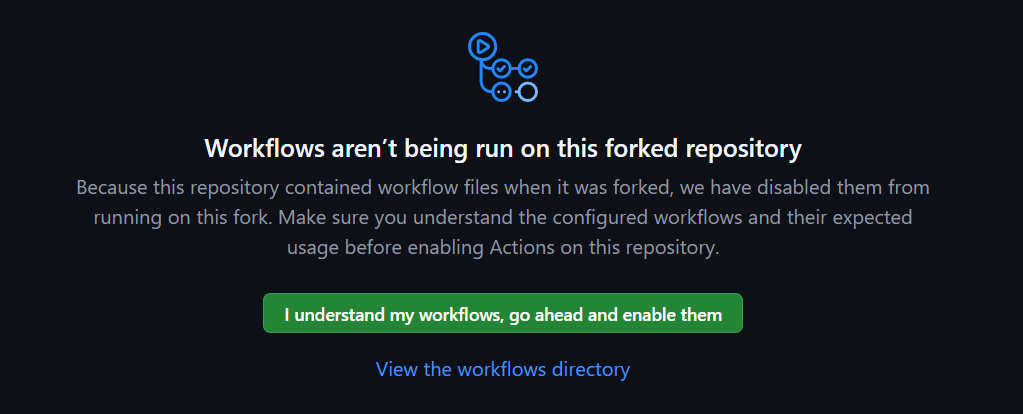
- Navigate to the Actions tab and click to enable workflows.
Since the repository already contains workflows (written by someone else), GitHub automatically disables them for security measures. It is good practice to review workflows before you run them.
Modifications to config.yml
- Within GitHub files browser, open the
_config.ymlfile, it should be located in the root directory of your repository. - Click to edit the file and change the
urlsection – it should behttps://<username>.github.io, note that it does not end with a front-slash/.1 2 3
# Fill in the protocol & hostname for your site. # E.g. 'https://username.github.io', note that it does not end with a '/'. url: "https://synvani.github.io"
- Change the
titleto reflect the name of your new website/blog, the rest can be left as is for now, as we just want to get the website up and running to make sure everything works smoothly.1
title: Synvan # the main title
- Commit the changes made to
_config.yml, make sure to follow the commitlint rules otherwise your commit would fail – write something along the lines ofstyle: update to _config.yml. - You’ll notice that once the commit is accepted and applied, nothing really happens and your website is not up and online just yet (reminder, your
urlshould behttps://<username>.github.io). That’s because the workflow to Deploy and Build the website isn’t part of our available workflows!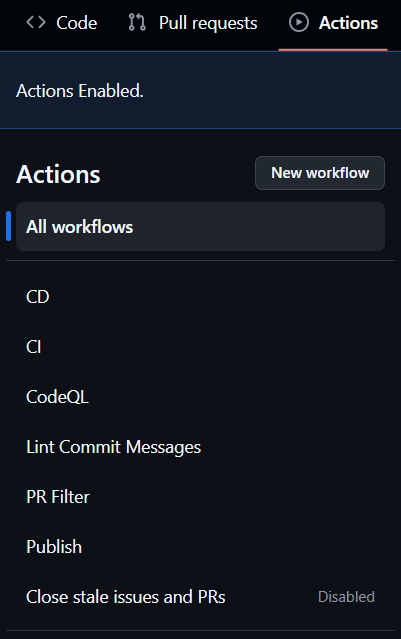
Adding Deployment Workflow
- Within GitHub files browser, navigate to
.githubdirectory, thenworkflows, thenstarter. - Inside
starterdirectory you’ll findpages-deploy.yml– the missing workflow! - Move or copy
pages-deploy.ymlfile one directory up, so it is within theworkflowsdirectory.- Move file – refer to GitHub Docs to learn how to move a file via GitHub’s web interface.
- Copy file – can simply download
pages-deploy.ymlto your local machine and then upload it tostarterdirectory.
- Don’t forget to write a valid commit according to commitlint rules, for example: fix: move pages-deploy.yml to workflows directory
- You’ll notice that our commit failed – that’s because our website is missing critical files that need to be compiled by us. This is mentioned in Chirpy’s FAQ, although it may not be super clear to non-Jekyll experts where exactly this part should be added or performed…

Adding npm Install & Build Stuff
- Navigate to
.github/workflowsdirectory and openpages-deploy.yml. - Edit the file – the following lines should be added:
1
2
  - name: npm build
    run: npm install && npm run build
The new lines should be placed between the name: Setup Ruby and name: Build site blocks, as below:
1
2
3
4
5
6
7
8
9
10
11
12
13
  - name: Setup Ruby
    uses: ruby/setup-ruby@v1
    with:
      ruby-version: 3.3
      bundler-cache: true

  - name: npm build
    run: npm install && npm run build

  - name: Build site
    run: bundle exec jekyll b -d "_site${{ steps.pages.outputs.base_path }}"
    env:
      JEKYLL_ENV: "production"
Finally, commit the changes and don’t forget to write a valid commit message, for example: fix: adding npm compilation to pages-deploy.yml`
Checking Out Our Website
A few minutes after our last commit you should be able to see your new website proudly deployed to https://<username>.github.io!
The next step is to create a local development environment so you could start working on your website conveniently and efficiently. Chirpy’s documentation has a great section on that which you can follow-up on here. Good luck!